Working with white ink can be a blast, a talented designer can do really creative and impressive things with specialty paper, white ink and a little ingenuity. White ink is best served when working with vector files, such as Adobe Illustrator or Freehand, but sometimes we don't have that luxury. Maybe the original files are lost on a corrupted hard drive or some equally grisly fate, and all we're left with is a flattened image. Fear not! Turning a high-contrast graphic into a white ink file is actually surprisingly simple.
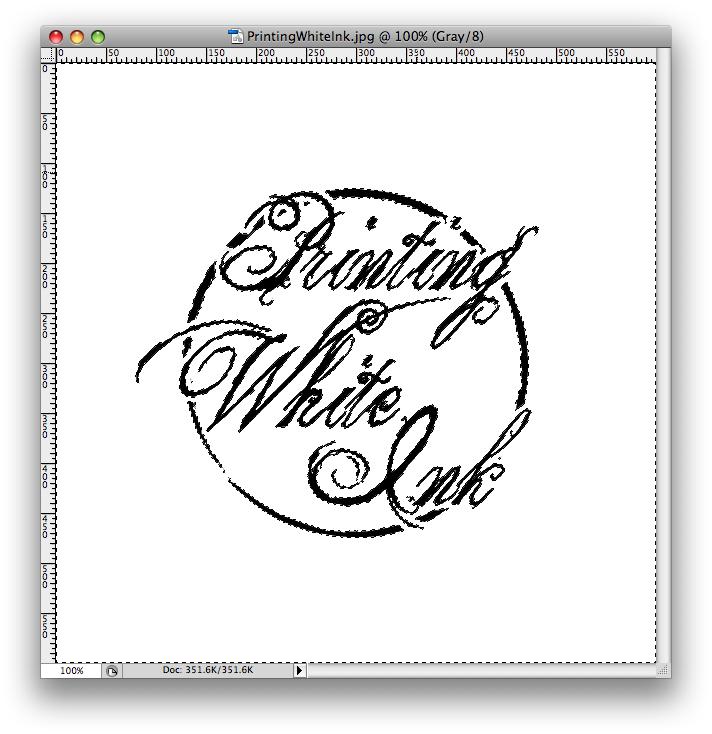
To begin with, we'll assume that we're working with a black & white (grayscale) graphic in Adobe Photoshop:
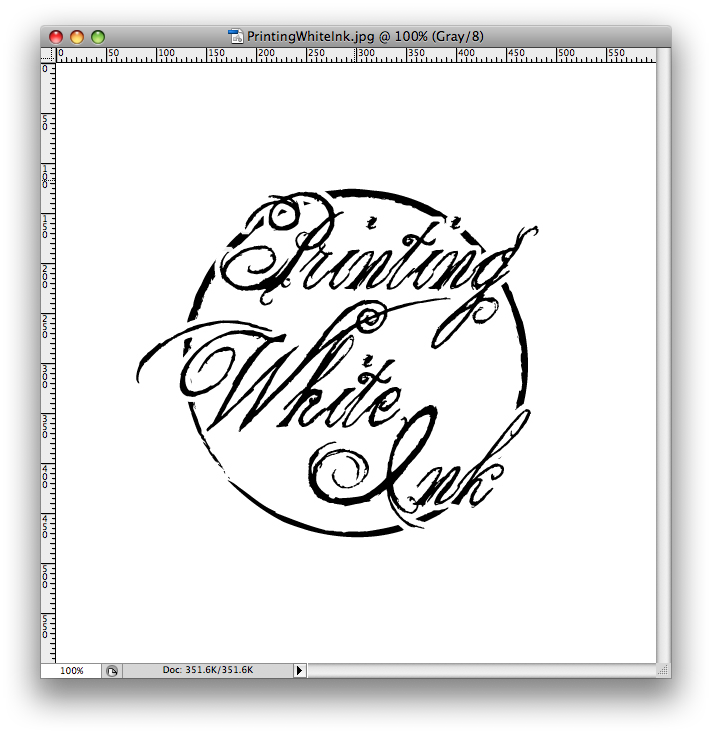 To ensure the graphic is truly greyscale, we can check in three places, first the title bar of the document's window should read (Gray/8) at the end.
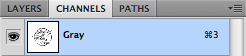
 Next, under the "Channels" tab, the only channel displayed, should be "Gray".
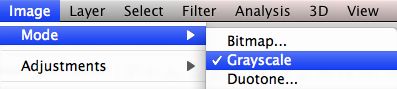
 Finally, if we look under the "Image" menu, under "Mode", "Grayscale" should have a checkmark next to it.
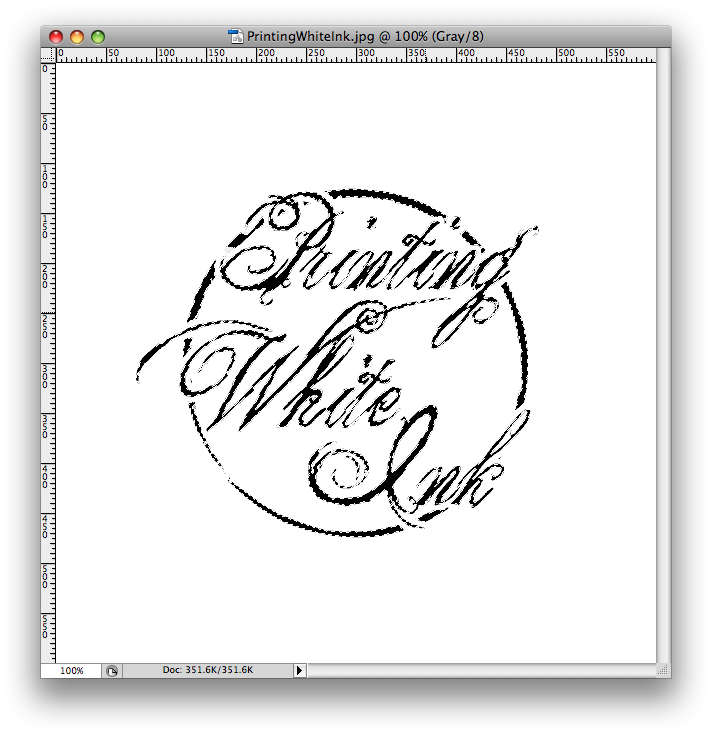
 This should be sufficient to ensure that we're working with a black & white file. The next thing we need to do is select the contents of the "Gray" channel, this can be achieved by holding down the Command key (on a Mac) or the Control key (on Windows) and clicking on the channel's preview icon that resides immediately to the left of the channel name. This will select all of the white space in the layer.
 Assuming we want the black lettering to print as white ink, we'll need to invert our selection, which can be done with either the Command + Shift + I (Control + Shift + I) shortcut or through the "Select" menu by choosing the "Inverse" option.
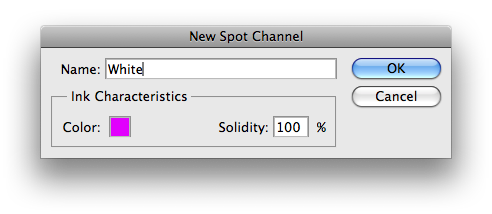
 Once you've got the selection you're looking for (this selection will become our white ink when printed) return to the Channels tab and from the drop-down menu in the top right corner, select "New Spot Channel...". This present you with a dialog box asking for the name of the Spot Color and a color to represent it in the document, the color you select here only serves to show you where this color will appear in the final product, it's often best practice to choose a very noticeable color, like magenta to represent it. Name this spot channel "White".
 Once you've created this channel, you should see your "White" show up as magenta (or the color of your choice) in all the right spots while the channel is selected.
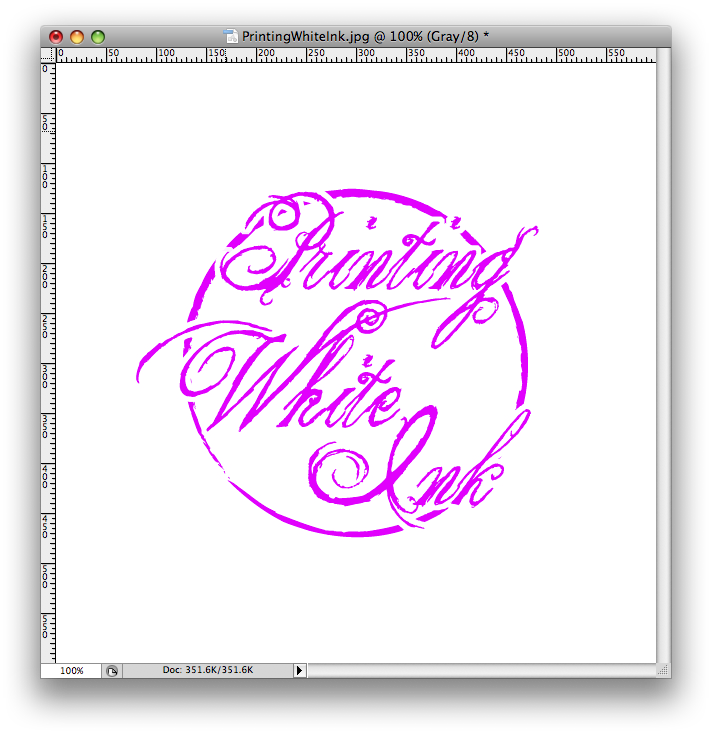 Assuming you have no other art in this image, you can safely delete the contents of the file, keeping your White Spot Channel in place. You can now save your image as a high-resolution JPEG, it will retain the Spot Channel information which we can interpret into white ink. That's really all there is to it! If you've got any questions regarding this technique or any more complicated white ink job, feel free to contact us any time, we'd love to help!
To ensure the graphic is truly greyscale, we can check in three places, first the title bar of the document's window should read (Gray/8) at the end.
Next, under the "Channels" tab, the only channel displayed, should be "Gray".
Finally, if we look under the "Image" menu, under "Mode", "Grayscale" should have a checkmark next to it.
This should be sufficient to ensure that we're working with a black & white file. The next thing we need to do is select the contents of the "Gray" channel, this can be achieved by holding down the Command key (on a Mac) or the Control key (on Windows) and clicking on the channel's preview icon that resides immediately to the left of the channel name. This will select all of the white space in the layer.
Assuming we want the black lettering to print as white ink, we'll need to invert our selection, which can be done with either the Command + Shift + I (Control + Shift + I) shortcut or through the "Select" menu by choosing the "Inverse" option.
Once you've got the selection you're looking for (this selection will become our white ink when printed) return to the Channels tab and from the drop-down menu in the top right corner, select "New Spot Channel...". This present you with a dialog box asking for the name of the Spot Color and a color to represent it in the document, the color you select here only serves to show you where this color will appear in the final product, it's often best practice to choose a very noticeable color, like magenta to represent it. Name this spot channel "White".
Once you've created this channel, you should see your "White" show up as magenta (or the color of your choice) in all the right spots while the channel is selected.
Assuming you have no other art in this image, you can safely delete the contents of the file, keeping your White Spot Channel in place. You can now save your image as a high-resolution JPEG, it will retain the Spot Channel information which we can interpret into white ink. That's really all there is to it! If you've got any questions regarding this technique or any more complicated white ink job, feel free to contact us any time, we'd love to help!- Log in to post comments